Sunday, June 10, 2012

apple pie baked beans

Every time I make this I get asked for the recipe or what I put in it. A handful of extra ingredients and 20 minutes can take your boring baked beans into something you actually want to eat. It's my go to side dish for potlucks and whenever I make bbq the boss pretty much insists on it.


I found this recipe on the webs a couple years ago. I cut back on the sugar a little but I've left it mostly unchanged. It especially good if you add a pound of leftover pulled pork.
I had just finished smoking bacon when I made this. I used the rind I sliced off the add some flavor. If you want you can use a few strips of bacon too. I've found that it's a little more trouble than it's worth to go out of my way to add it though so if you don't have any don't worry.

Yes, I am a messy cook.
4 bacon strips (optional)
2 28-oz cans Bush's Baked Beans, drained
1/2 C of your favorite bbq sauce(stay away from honey bbq-too sweet)
1 lb. smoked leftover pulled pork (optional)
1 can apple pie filling, roughly chopped
1 medium onion, chopped
1 bell pepper, chopped
1/3 C brown sugar
2 Tbsp. Worcestershire sauce
2 Tbsp. of your favorite mustard
1 tsp chipotle powder
1 tsp bbq rub (optional)

If you're using bacon fry the strips up and set aside. Using the bacon grease, saute the onion and bell pepper until soft or about 5 minutes. Stir in the remaining ingredients and the bacon if you are using it and have managed to not eat it already. I like to bake it for 45 minutes or so but you can let it simmer also. If you want to mix things up you could add some Jimmy Dean's breakfast sausage instead of pulled pork, Peach filling instead of apple or some jalapenos instead of chipotle powder. Get fancy.

Wednesday, June 6, 2012

bacon


Maple Maple Cured

Bacon is probably your favorite food, even if you're a vegetarian. Making homemade bacon is actually very easy to make-it just takes some time. I just started making it a few months ago and it's easy to get hooked. The comparison from the store bought stuff that you currently think is the good is actually kind of crappy when you compare it to homemade bacon. Don't get me wrong, it's still good but I promise if you make your own you'll know what "real" bacon is supposed to taste like. No, it won't save you money, you might break even but the quality makes up for it.


"plain" cured bacon rubbed w/cinnamon and sugar

I've now made this 3 or four times in as many months and I've started to venture off the beaten path a little. My go to seems to be a maple/honey/thyme cure but I've been trying a few new things.  The pic above has been one of my favorite sweet bacons I've made so far. I didn't add anything to the cure but I did rub it in cinnamon and sugar before I smoked it. On the sweet side but it's the bomb diggity.

If you give this one a go I would suggest doing a sweet one like maple or cinnamon a sugar and a savory one that can be used in other dishes like carbonara, bacon cheese burgers or a salad. Bacon is an easy thing to experiment with. Add a mix of herbs, fresh or dried chile's or add fresh cracked pepper or cinnamon and sugar after the belly has cured.


cure recipe
1 C kosher salt
1/2 C sugar
5 teaspoons pink curing salt
mix well

Here's how to do it. Find yourself a pork belly. The recipe above should be enough to cure a 10 lb pork belly but you can obviously do less. In a baking dish or larger flat container put down a layer of the cure and dredge the pork belly in it or spinkle an even coat on it. If you are are going to use additional flavoring (maple syrup, garlic etc.) add now and seal in a larger zip lock bag and refrigerate for a week. You'll need to "overhaul" it or flip the belly over over other day to ensure the brine that the cure mixture is evenly coating the meat. Seven days later rinse the cure off the bacon and fry a little piece to taste. If it's too salty soak for a half hour, change the water and soak for another half hour. That should remove some of the unwanted salt.

If you don't have a smoker roast the belly in the oven @ 200 degrees until the meat gets to an internal temp of 150. Done. If you have a smoker or a grill that's capable of smoking do the same but be sure to keep the temp at 200 or under until it get to an internal of 150 degrees. Done.  What you have now is slab bacon and will keep for a couple weeks in the fridge, longer if you freeze it.

Thursday, April 19, 2012

pork belly confit

This has been on my to do list for at least a year now. After a year long search I've found a few places that readily have pork belly so all I've done the past few weeks is play with making bacon. One of these days I'll go back and finish my bacon post. I saved about 4 1/2 lbs. from my last belly I got just for this recipe. Being the pig that I am I thought it 4 lbs of belly confit wouldn't be too much. I was way wrong. It's keeps for at least a couple months so I have some time but it's sort of rare that I know when I've had enough before I over eat. I had the piece shown in the pics and I couldn't finish it. It's has the same richness quality that desserts do. You want more but there is a point when it becomes too much. Had to throw in the towel. Not such a bad thing though cuz the only way you could add more fat in this would be to dip it in chocolate and roll it in bacon. If anyone wants to come over and try it I'll have plenty to go around.

The pork belly strips get seasoned with kosher salt, black pepper, pink curing salt, fresh thyme, bay leaves, cinnamon, all spice and clove. Next put the pork in a container and cover with enough dry white wine to cover and let sit in the refrigerator for a day or so.


I didn't take pics of the marinade. Nothing to see really but the above pics are after 36 hours. Take them out and pat dry with some paper towels. Next was something I haven't done before. Basically this is nothing more than cooking fat with a little meat on it with rendered fat. Health food! The cooking temp is low enough that the fat on the pork belly isn't rendered so it stay in tact. I used probably about four cups of rendered duck fat but you can lard. It's cheaper and easier to find. Add just enough so that you don't have any pork exposed when the fat liquefies.


I posted a pic on facebook and was told this looked like a tumor covered in pee. I agree, but it smelled amazing. This is what it will look like when your duck fat or lard liquefies. You want it just hot enough to get a gentle simmer going before putting the uncovered pot in a preheated 250 degree oven. It will take somewhere between 2-3 hours to cook. When you can slide a fork in the meat with no resistance its done. Here's were things get old school. Leave the pork belly in the pot, with the fat to cool at room temp. Once at room temp cover the pot and put it in the refrigerator and you're done. When you want to have some just fish some out of the fat but like I mentioned above the meat has been cooked and is preserved in fat so it keeps for months.


You might ask how we can make this just a little more unhealthy? Yup! Deep fry it! Like it matters. Your eating mostly fat at this point anyways a minute or two in a deep fryer isn't really going to make this much worse than it already is. I used Canola and maybe had them in for two minutes. It's already cooked you just want to get the outside crispy to give it some texture. You could also saute or pan fry too.


This is a recipe from Charcuterie so I can't exactly post the recipe so message me if you have questions. For anyone interested, the book is a very good resource on how to cook with salt, smoke and curing methods. Worth every penny and no, I'm not being paid for pushing this book.


Thursday, March 22, 2012

caramelized asian pork


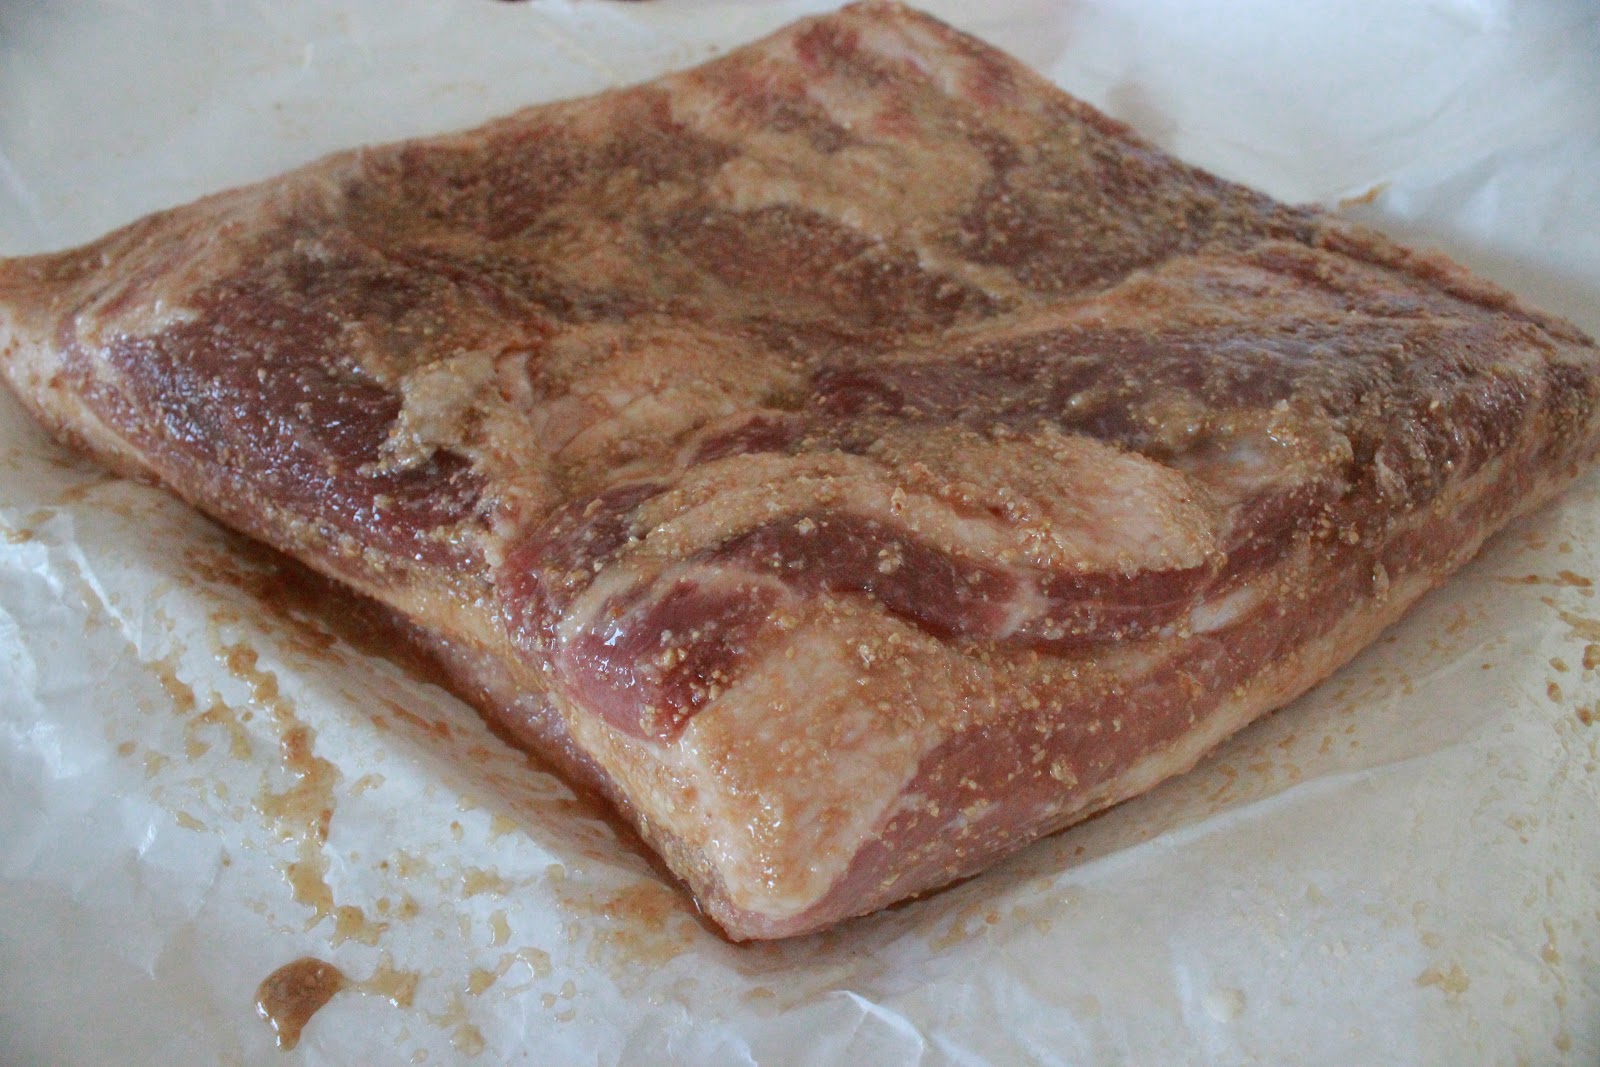
The hardest part about making this is getting the cut of pork. It's really simple otherwise. This would work best with a piece of pork belly but you're probably never going to find one unless you order it. You might luck out if you have a good asian or mexican market but your standard grocery store probably won't have it. That's ok cuz you won't need it. Instead find yourself a pork shoulder or sometimes called a boston butt or pork butt. And no, it's not a pigs actual butt, that's a ham. Shoulders are something you can normally find anywhere but make sure it has a nice layer of fat on it before you buy it. Sometimes they get over trimmed and pork fat is something you need to make this recipe turn out well. They will vary in size but I would suggest something in the 5-7 pound range if you want about 4 servings.


I'll have to do a post on breaking down a pork butt, but for now I'll give you the easy version of what you'll need to do to get the cut you want. Place the pork shoulder fat side down on a cutting board. If you got one with a bone have that facing towards you and the bone should look like a funny "T". You want to make a horizontal cut at the bottom of the "T". For those of you that have a boneless pork shoulder make the cut around 1 1/2 to 2 inches from the fatty bottom side of the pork shoulder. Go all the way across so you end up with a nice flat piece. If you want the presentation to be fancy you can square it up to make it more uniform. As for the rest of it? Throw it in a crockpot or slow oven and make pulled pork with it. If you want to get adventerous message me and I'll explain how to break the rest of the butt down and give you a couple ideas.


Lay down a bed of green onion on some tin foil and lay the pork fat side down. Cover with more green onion and season with salt. Tightly wrap the pork in foil and cook @ 200 for 6 hours. Cooking this low won't render very much fat-again we want that in there. After it's cooked put it in the refrigerator to completely cool. Give it at least a couple hours or if you plan ahead keep it in the fridge overnight and dinner will be easy the next day.


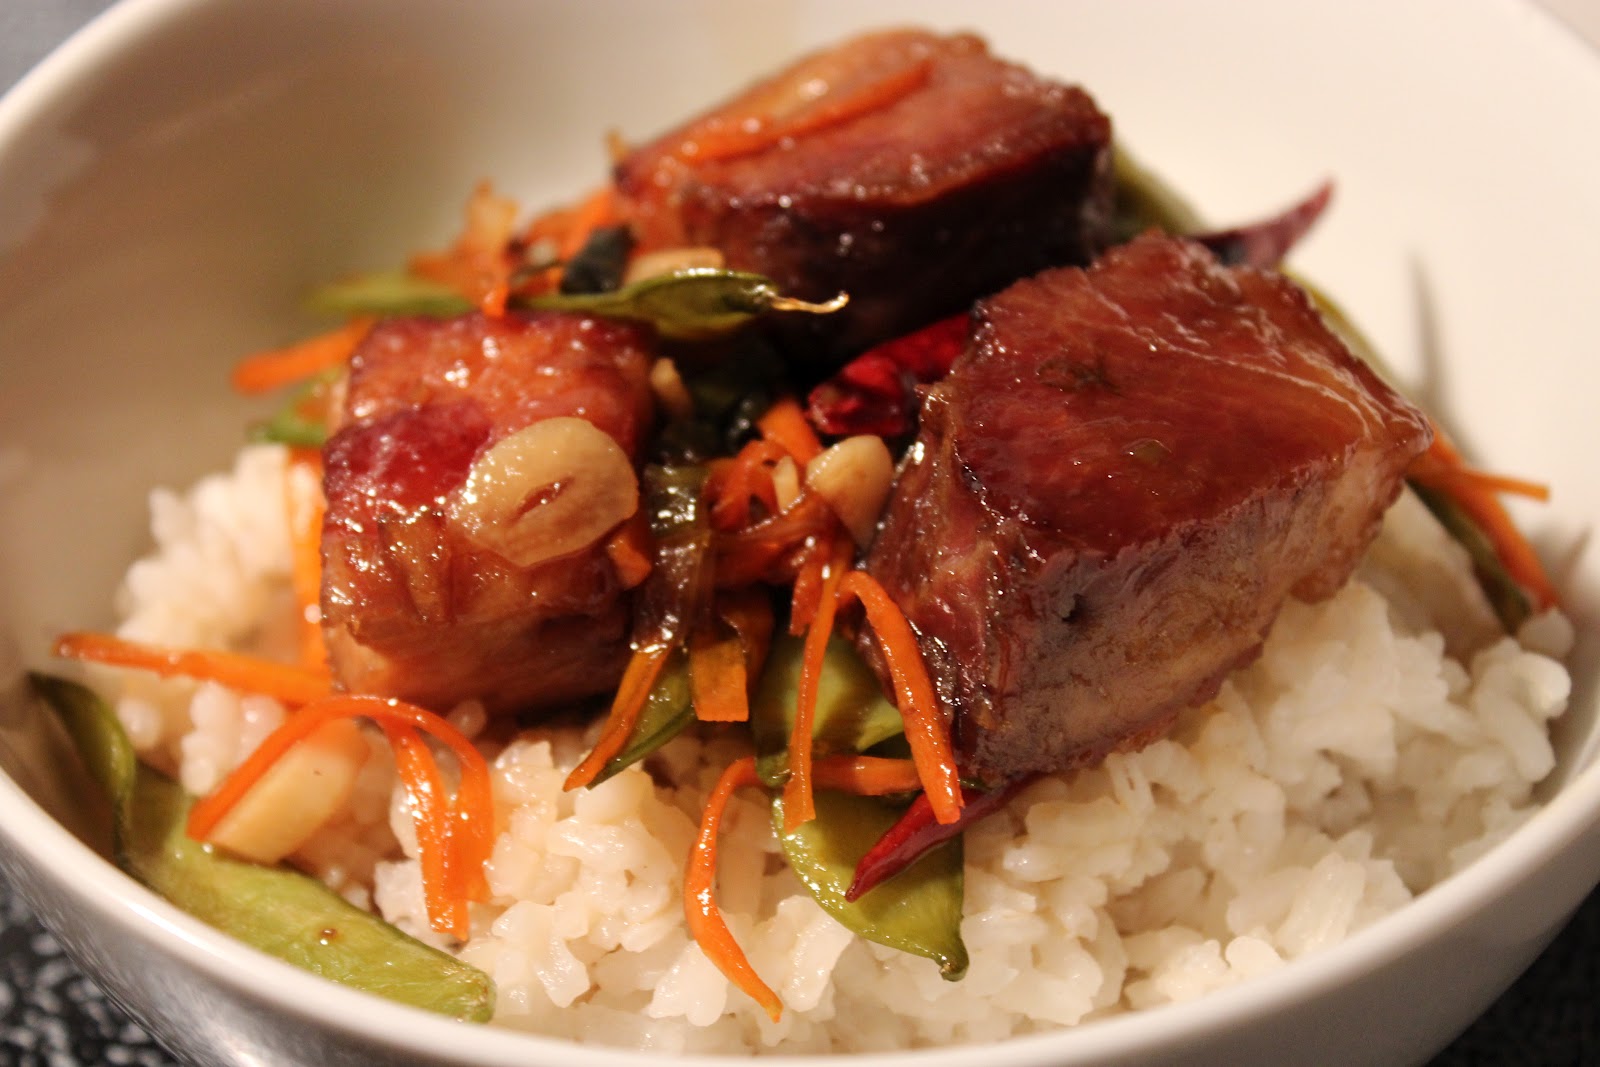
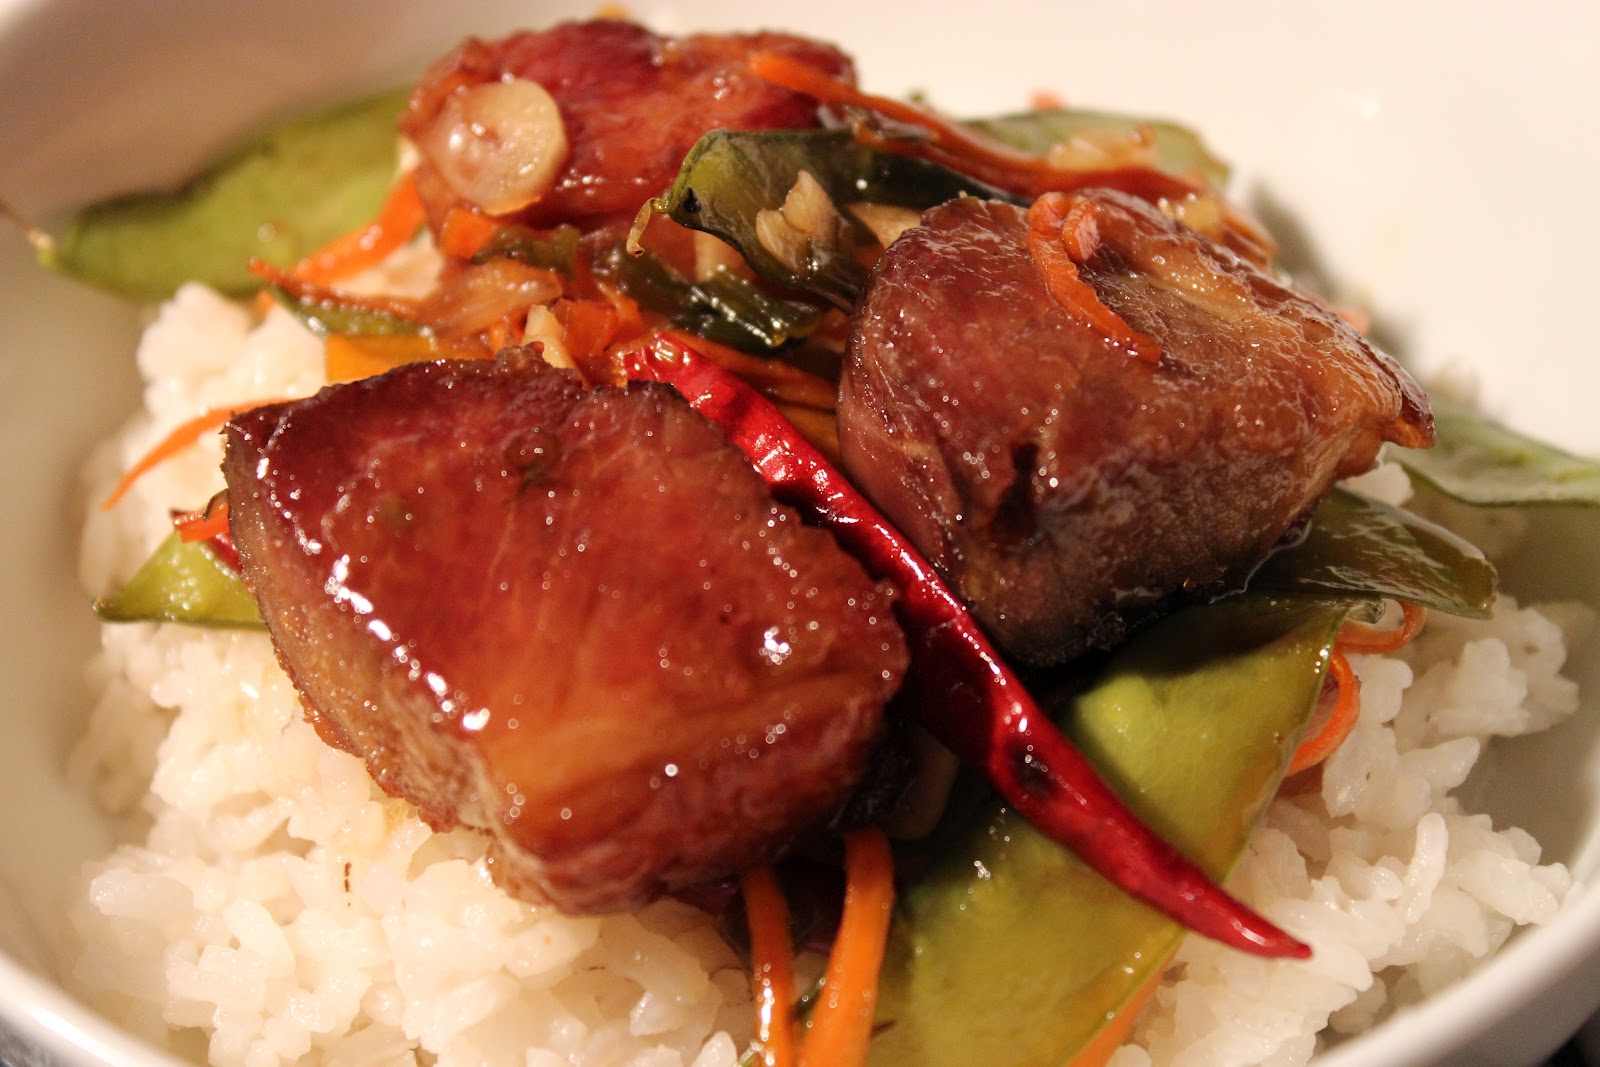
When ready, unwrap the pork and toss the green onions it was cooked with. You'll notice it hasn't really shrunk much and it may not looked cooked but don't worry, it's safe to eat now but we aren't done. Cut the pork in big square chunks but be sure to leave that fatty side on each piece. In a saute pan on medium heat put the pork fat side down to render some fat. You'll have a couple minutes so it's a good time to mix the sauce. Cook the pieces on each side until golden brown. When browned, soak up some of the fat with a paper towel and tongs. Turn the heat to medium high and add a few tablespoons of the sauce. Keep turning the pork so all sides get nice and caramelized. Next, make some room in the middle of the pan and add the garlic, chilies, carrot, pea pods and green onion and saute for a minute. Add the remaining sauce and water. Cook for a few more minutes so that the sauce thickens up and done. Serve over rice or asian noodles.


The pork:
Pork
1 bunch green onion
Salt

Sauce:
½ C brown sugar
4 tbsp rice vinegar
4 tbsp fish sauce
1 tsp soy sauce
2 tbsp ginger juice (grate a bunch and just squeeze it)


The rest:
8-10 cloves garlic-sliced thin
8-10 dried Arbol chilies
½  C carrot cut into thin matchsticks
½ C pea pods
1 bunch green onion-chopped
1 Cup water